Day One at the Harley-Davidson University
Harley-Davidson India has been in operation in the country for many years and has sold numerous models in India. It also has an extensive service network across the country with an army of trained technicians.
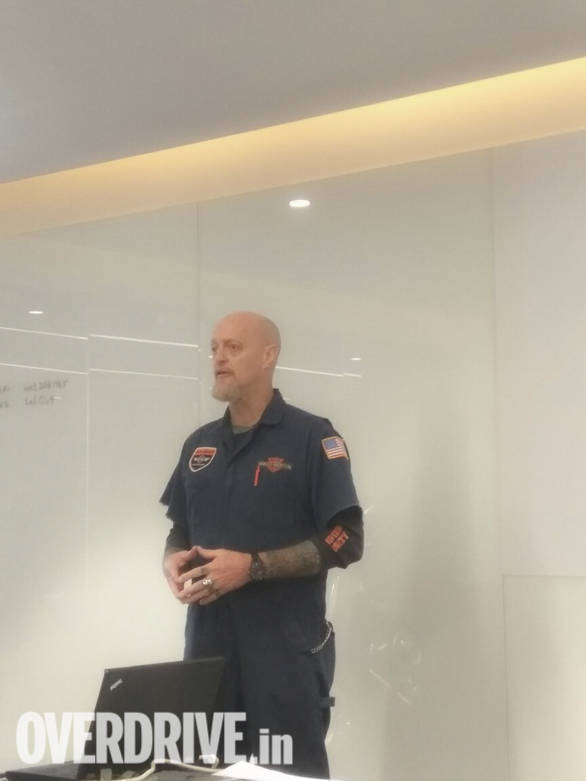 John McEaneny is a chief of service for the Asian arm of Harley-Davidson. He trains the mechanics and also oversees operations
Taking a step further, the American manufacturer has decided to open the Harley - Davidson University in India. It's a school where the mechanics learn how to service and maintain Harley Davidson Motorcycles. Situated in the sprawling premises of Capital Harley Davidson, a dealership in Gurgaon, the University will teach budding mechanics the nuances involved in the upkeep of a Harley. We were invited by the company to work on their new breed of V-Twin engines, the Milwaukee 8.
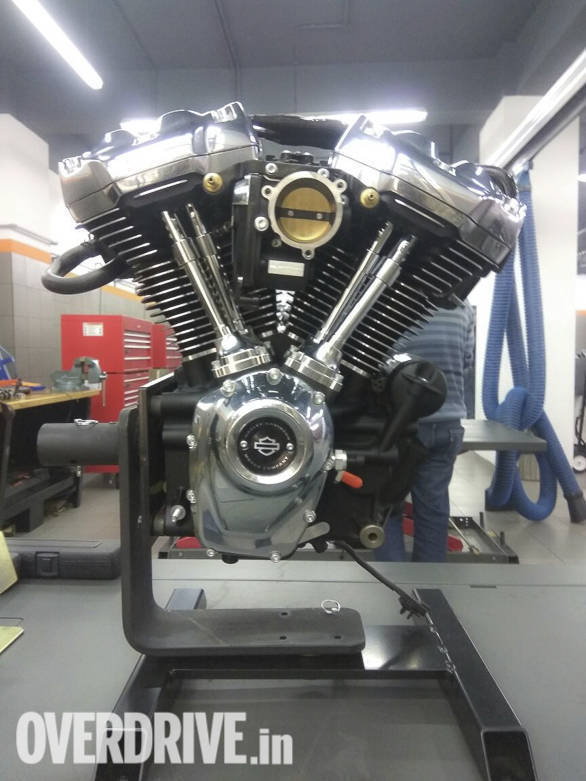 The Harley-Davidson Milwaukee 8 engine
The Milwaukee 8 powers the new range of Soft tails and touring models and are available in two capacities, 107 cubic inches and 114 cubic inches. We were going to learn how to disassemble and the reassemble the 107 over the course of two days.
Day One was dedicated to understanding how the Milwaukee 8 works and the then dismantling it. Taking us through the entire process was John McEaneny. He is the Asia Head of Harley Davidson's service arm, and the man responsible for training the technicians who work on a wide range of Harleys. He's an avid biker and it goes without saying that an ultra passionate Harley Davidson fan. John is also responsible for setting up Harley Davidson's service network in India and has been deeply involved in the introduction of the brand in the country.
We were pretty excited to go back to school, one where we were going to get a hands on experience on working on an engine. The first session was more of a theory session, where we were taken back to the basics. John began by explaining the typical four-stroke cycle in an internal combustion engine.
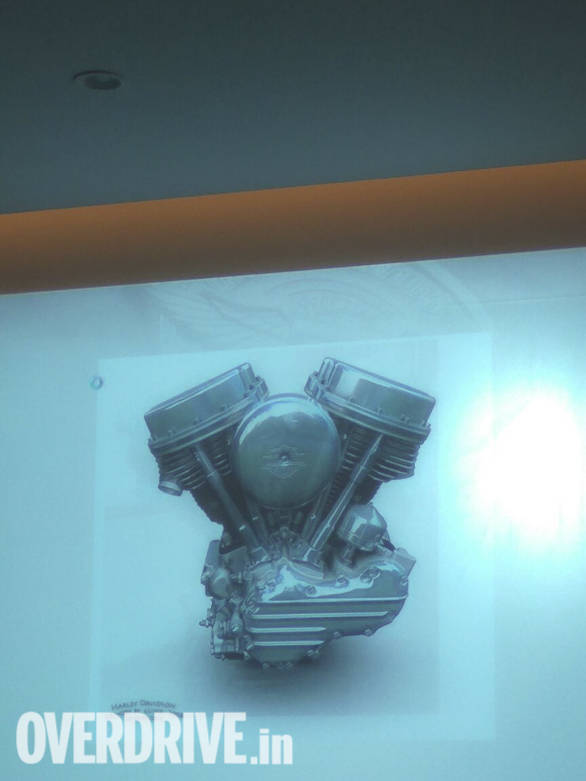
He then took us through the various engines that have powered Harley Davidsons of yore. From the flathead, coined after the shape of the engine heads to the first ever liquid-cooled motor that powered the V-Rod, it was quite an interesting history lesson.
We were then introduced to the Milwaukee 8, its technology and the way the parts function by means of powerpoint slides.
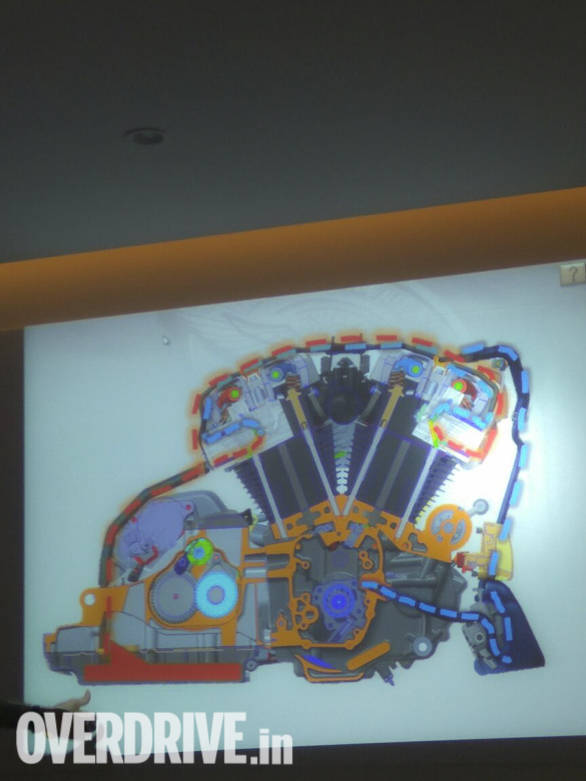
Theory session done, it was time to enter the service station and work on the engine.
There were eight work benches, each with a Milwaukee 8 engine mounted on purpose built stands. Each station had a tool trolley with a number of drawers, each housing a wide range of tools. There were also a set of special tools to help remove the piston rings or hold the timing chain sprockets in place while removing them.
There was a detailed service manual to guide us and ensure we go step by step.
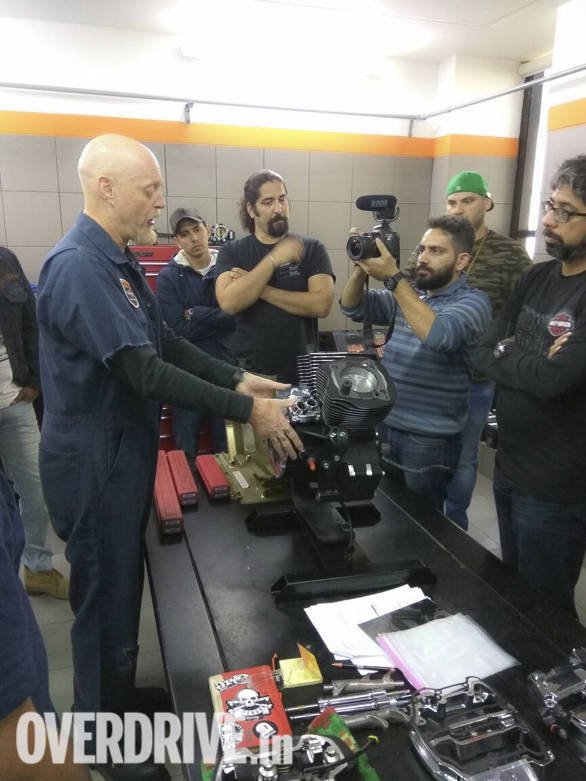
We were split into groups of three and the task for the day was to dismantle the engine. It's not just a simple task of unscrewing every bolt. There's a method to the whole exercise.
The first step is to get the head cover off, followed by the rocker arms. It's extremely important to ensure that the piston is at the top dead center before unscrewing the rocker arms, to prevent any damage to the valves. To do that we used a special tool to rotate the flywheel and hence move the pistons.
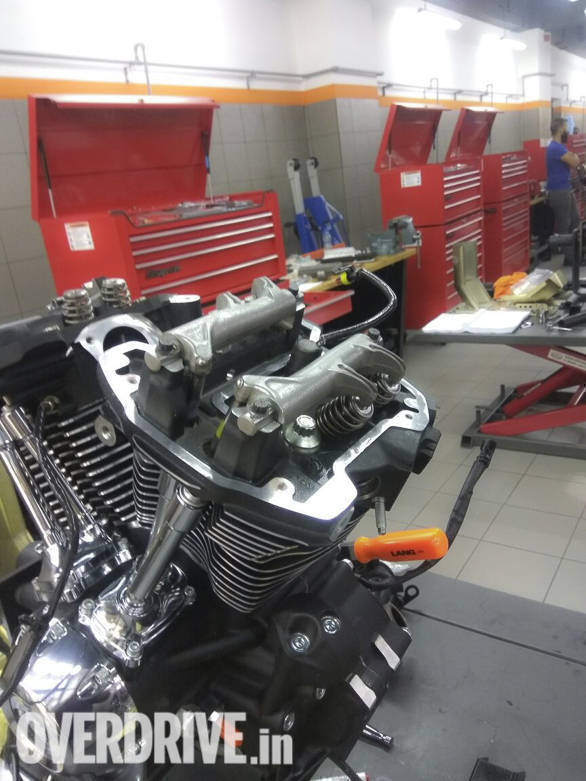
We then got the head off followed by the throttle body and the knock sensors on each cylinder. Next step involved removing the push rods and the lifters.
After that, we took the crank case cover off, in a specified sequence. In fact, there's a specific sequence to loosening or tightening every bolt. You can't really loosen a bolt randomly.
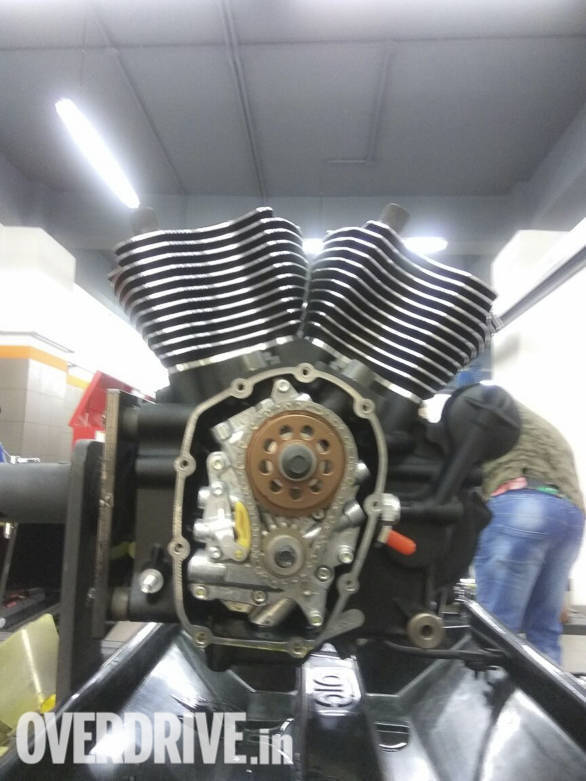
This was followed by the timing chain sprockets, hydraulic chain tensioner and the oil pump that contains the G rollers that regulate the flow of oil.
After that, came the difficult part. Removing the cylinders and pistons. Once the cylinders were pulled out, we covered the studs with a plastic pipe. This was to prevent any accidental damage to the piston. A little nick to the piston can have a catastrophic effect, since these parts operate in an intense environment. Just imagine the number of times a piston moves up and down the cylinder, even at idle, to understand what I mean.
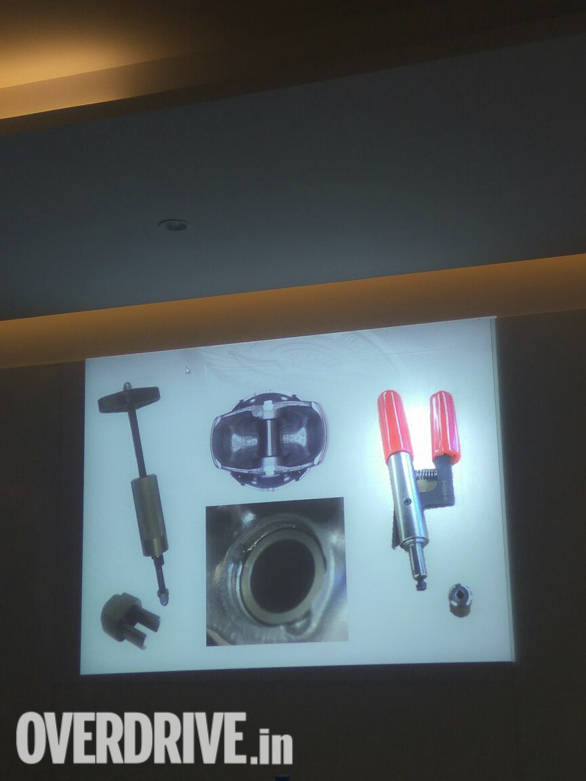 The tool with the red handle is used to remove as well as attach the piston ring
Then it was time to remove the piston ring. A special tool made life relatively simple, in what is otherwise a complicated process. The tool effectively allows you to pinch and pull the piston ring, in one go.
Another tool made easy work of detaching the bolt that holds the piston on the connecting rod.
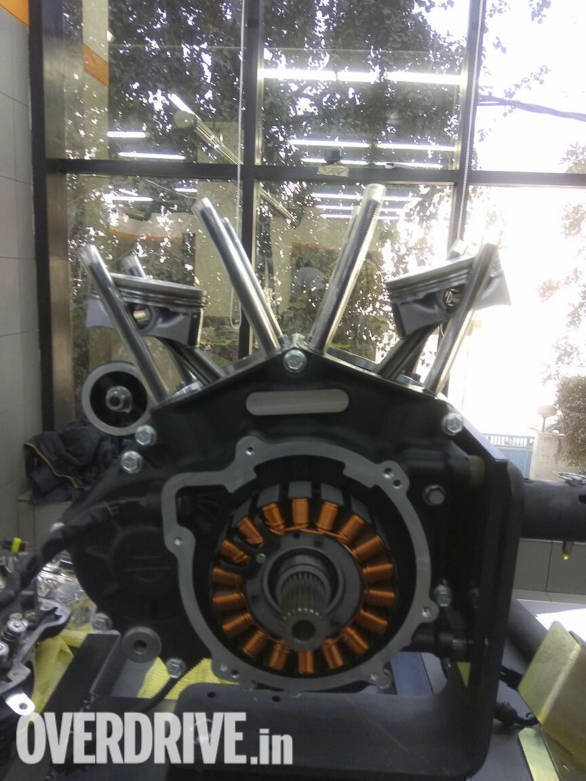
The next few steps were pretty easy. After placing a protective rubber cover over the con-rods we removed the bolts that hold the two halves of the crank case.
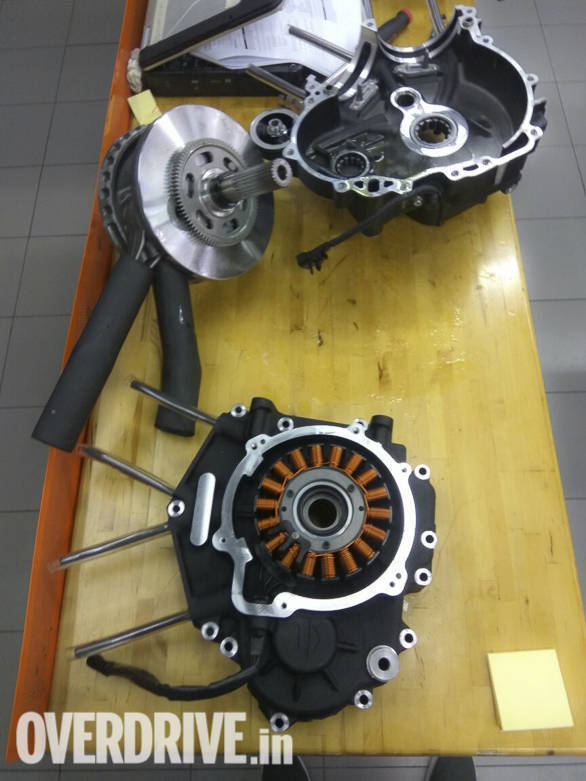
Day One was exciting indeed and we were amazed at the effort that goes behind taking an engine apart. But the job was only half done. We had to put the engine back together, and we dreaded it. What if we miss a step? Stay tuned to find out.

